
7 Tips for Best Product Photography
Did you know that 67% of consumers look at product images before buying? In today’s online shopping world, professional product photography is key. It can make your sales soar. Eye-catching photos are more than just pretty pictures. They are a powerful way to get people interested and increase sales.
With the right skills and tools, anyone can take great photos. These photos can grab the attention of potential customers and make your brand stand out. So, let’s dive into the 7 tips for taking the best product photos.
Key Takeaways
- Product photography significantly influences consumer purchasing behavior.
- High-quality images enhance online product listings and printed materials.
- Even beginners can achieve professional results with the right techniques.
- Great product images help to building a strong brand reputation.
- Learning how to take product photos can drive higher engagement and sales.
Understanding Product Photography Basics
Learning the basics of product photography is key to taking great pictures. These images should show off your products’ best features. We will talk about the importance of good lighting and the right equipment for the job.
Importance of Good Lighting
Good product photography lighting does more than just light up your product. It highlights its best parts and hides any flaws. Natural light gives a soft, even look but can change a lot. Artificial light can give you all control and is consistent.
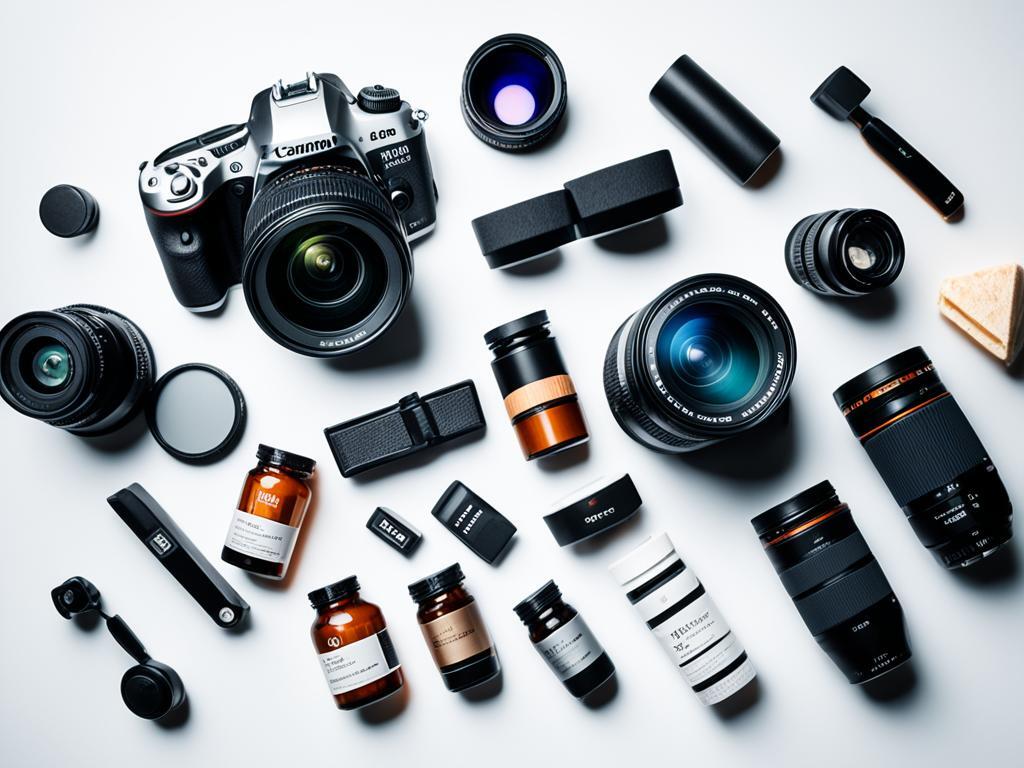
Choosing the Right Equipment
Choosing the right product photography equipment greatly affects your photo quality. You’ll need a good camera, versatile lenses, and a sturdy tripod. Pick your gear based on what you’re photographing. Here are some key product photography tips and tricks for picking the right equipment:
- Camera: Get a camera with high resolution and adjustable settings.
- Lenses: Use macro lenses for small items and wide-angle lenses for big ones.
- Tripod: It ensures your camera stays still for sharp, clear shots.
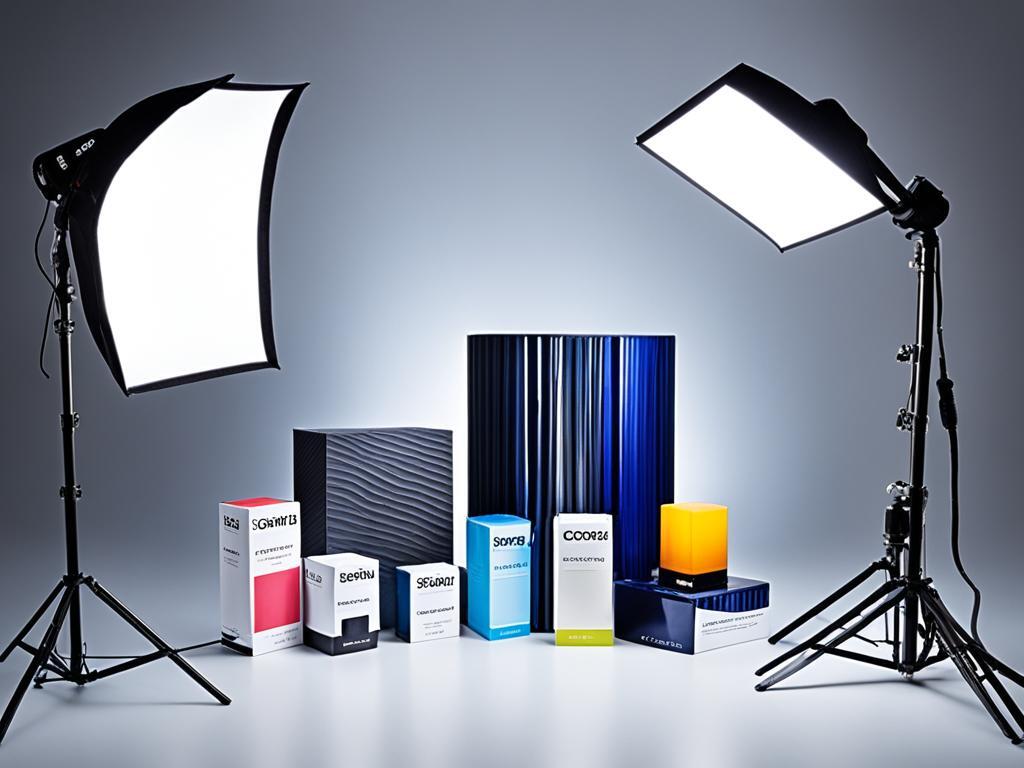
Setting Up Your Product Photography Space
Having a dedicated space for your product photography can make your work better and keep your shots consistent. Think about these key points when setting up your space:
- Ample Space: Make sure you have enough room to move and adjust your gear easily. This lets you try different angles and views, which are important for great product photography composition.
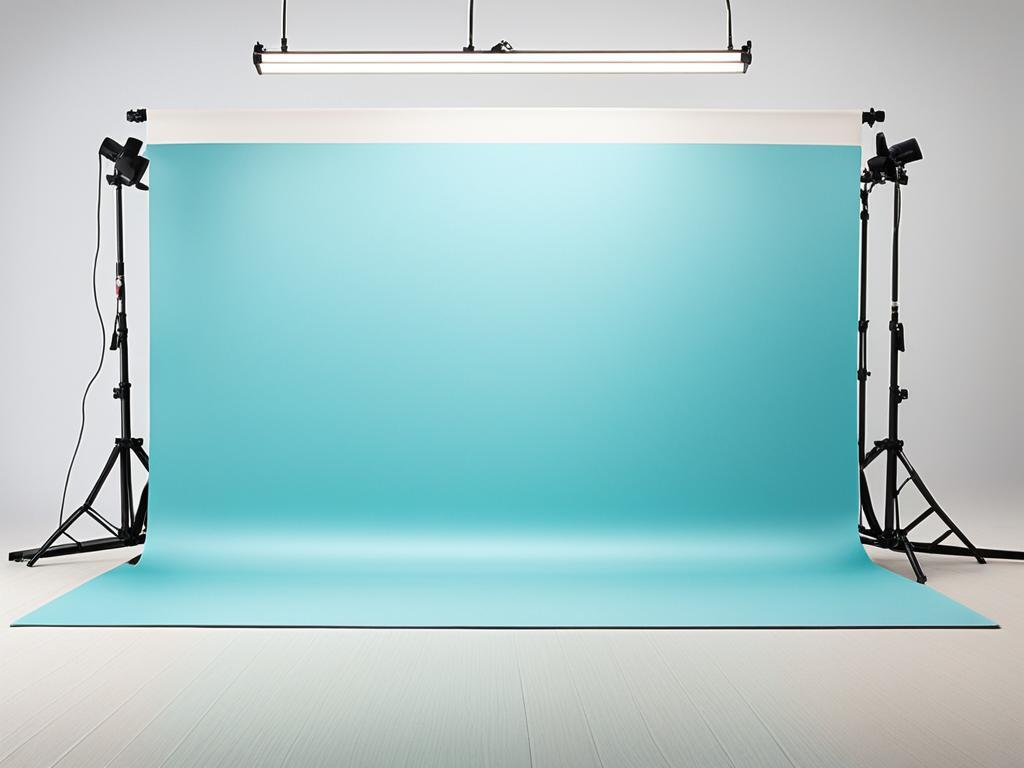
- Neutral Backgrounds: Use backgrounds that are neutral or plain to focus on the product. This makes editing easier and keeps your photos looking professional. Neutral backgrounds are a top tip for product photography because they give a clean look.
- Avoid Clutter: A clean space helps keep your photos consistent and reduces distractions. It lets you show the product in its best light, adding to a smooth product photography composition.
Organizing your photography area well can make your product photography smoother. This is key for branding and selling online, as it keeps all your product images looking the same. Remember these tips when setting up, and you’ll see big improvements in your product photography composition.
Using Proper Lighting Techniques
Mastering proper lighting techniques is key in product photography. The right lighting can make your products stand out and draw in customers. Explore some methods for the best lighting.
Types of Lighting
Knowing the different types of lighting is important for various effects and moods in your photos.
- Key Lighting: The main light that highlights the product’s main features.
- Fill Lighting: Fills in shadows from the key light for balanced exposure.
- Backlighting: Adds depth and a professional look by highlighting the product’s outline or creating a silhouette.
Lighting Positioning Tips
Getting light positioning right is key for showing off your products’ texture and details. Here are 3 basic product photography lighting tips for the best results:
- Place your key light at a 45-degree angle to the product for natural shadows and highlights.
- Use diffusers to soften harsh lights and avoid bright spots.
- Put fill lights on the opposite side of the key light to reduce unwanted shadows.
Using Natural Light vs. Artificial Light
Choosing between natural and artificial light can change how your product photos look. Both has their own benefits.
| Natural Light | Artificial Light |
| Offers a soft, real look. | Provides control over lighting conditions. |
| Ideal for products that look good with natural tones. | Great for consistent results and specific effects. |
| Best used during golden hours for the softest light. | Allows shooting at any time and in any weather. |
Selecting the Ideal Backdrop
Your choice of a product photography backdrop is key to making your product shine. Think about what your brand looks like and what makes your product special. This will help you pick the perfect backdrop.
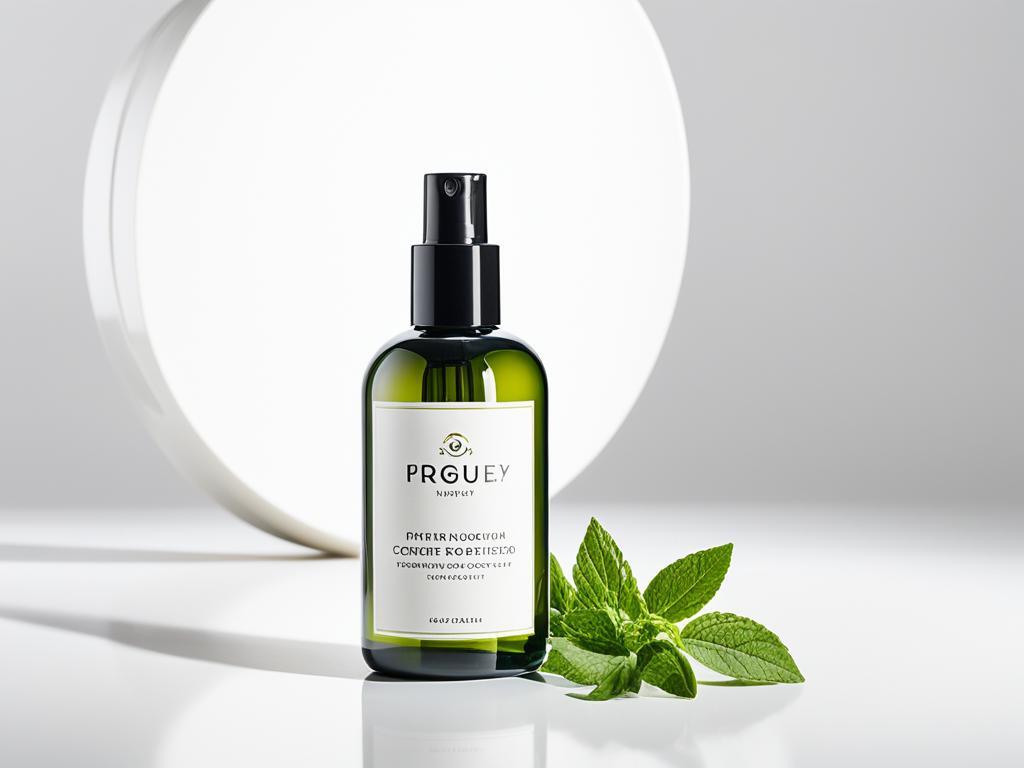
For soap, white or beige backdrops work great because they let the soap be the star. But, feel free to try different colors and textures to show off the soap’s qualities. For example, a wooden backdrop is great for organic soaps, and marble makes high-end products look luxurious.
Here are some top tips for soap product photography when choosing a backdrop:
- Neutral Colors: Stick to neutral colors to let the product shine.
- Textures: Pick textures that match the soap, like wood for a natural vibe or fabric for a soft feel.
- Contextual Backdrops: Putting the product in a fitting scene makes the photo more interesting, like a soap in a bathroom.
- Brand Reflection: Make sure the backdrop fits your brand’s style for a consistent look.
Table comparing backdrop materials:
| Backdrop Material | Best Used For | Benefits |
| White Paper | All Types | Clean and Professional Look |
| Wooden Boards | Natural Soaps | Rustic and Organic Appeal |
| Fabric | Handmade Soaps | Soft and Inviting Texture |
| Marble | Luxury Soaps | Elegant and High-End |
Choosing the right product photography backdrop can make your soap products pop. It will help to send the right message to your customers.
Composition Tips for Professional Product Photos
Learning the rules of composition is key for making professional product photos. It’s vital whether you’re aiming to boost your sales on sites like eBay or to showcase jewelry well. Mastering these techniques can really make a difference.
Rule of Thirds
The Rule of Thirds is a must-know for product photography. It means dividing your frame into a 3×3 grid and placing your product on those lines or where they meet. This creates a balanced and interesting image. It helps your products look better and can boost your sales on overview: product photography tips for eBay and eCommerce jewelry.
Importance of Angles and Perspectives
Trying out different angles and perspectives can really improve your product photos. By changing how you view your product, you can show off its details better. This makes it more appealing to buyers. Use these tips to give a full view of the product, following product photography tips for eBay and eCommerce jewelry. This might mean close-ups of jewelry or shots of gadgets in action.
| Composition Tip | Description |
| Rule of Thirds | Divides the frame into a 3×3 grid to position the subject along the lines or their intersections. |
| Angles and Perspectives | Uses various viewpoints to highlight the product’s unique features and appeal to potential buyers. |
By using these composition tips in your product photography, you make sure your images look great and professional. This boosts their effectiveness in any sales setting.
Post-Processing and Editing Your Photos
Post-processing and editing are key to making great product photos even better. They are crucial for Shopify product photography and enhancing images for Amazon. Knowing basic editing techniques is a must for creating images that look good on all platforms.
Cropping is a main task in post-processing. It helps focus on the product and removes distractions. Color correction is also important to make sure the product colors look real and bright. This is crucial for online shopping, where people make choices based on what they see.
Retouching helps remove any flaws that could take attention away from the product. This includes dust, smudges, or small marks. For ecommerce product photography, careful retouching can greatly improve your images.
Tools like Adobe Photoshop or Lightroom can greatly improve your product photos. They let you adjust things like exposure and contrast. Presets and actions can also make editing faster by applying the same look to many photos at once.
Here’s a comparison of popular photo editing software used for product photography:
| Software | Main Features | Best For |
| Adobe Photoshop | Advanced editing, retouching, color correction, compositing | Detailed and complex edits |
| Adobe Lightroom | Batch processing, color grading, presets | Efficient workflow for large volumes |
| Capture One | Powerful RAW editing, tethered shooting, color grading | Professional studio shoots |
If you are not expert with those software then you can hire professional photo retouching company like Infotecsourz.
You can try for free. No credit card required.
When aiming for different online stores, it’s important to tailor your images for each platform. Each store has its own rules, like image size and background color. Make sure your images are high resolution and the right size to look good and load fast.
By following these tips for post-processing and editing, you can make your product photos stand out. Whether for Shopify or Amazon, the right edits can really help attract customers.
You can order professional photo retouching service from Shopify app store.
7 Tips for Best Product Photography
When taking product photos, every detail is important. We’ll share seven key tips to improve your shots, especially with a smartphone. From keeping things steady to styling, these tips will help you get professional-looking photos.
Tip 1: Use a Tripod
Stability is crucial for clear images. A tripod keeps your camera or smartphone steady, avoiding blur. It’s a vital tip for beginners in product photography smartphone tips for beginners.
Tip 2: Adjust Camera Settings
Knowing your camera settings can greatly improve your photos. Experiment with ISO, shutter speed, and aperture to find the best mix. These settings are key for great product photography.
Tip 3: Focus on Details
Look closely at your product’s small details. Make your all focus on texture, color, and design to make your photos stand out. This ensures customers see every detail clearly.
Tip 4: Maintain Consistent Styling
Keeping a consistent style helps build a strong brand. Use the same backdrops, lighting, and angles for all products. This makes your brand look professional and recognizable.
Tip 5: Save in High Resolution
Always save your photos in high resolution. This makes sure they look good on any platform, whether it’s print or digital. High-resolution images are vital for marketing materials.
Tip 6: Optimize for Different Platforms
Each platform, like Instagram or your website, has its own needs. Adjust your photos to fit each platform perfectly. This flexibility is crucial for product photography smartphone tips for beginners.
Tip 7: Experiment and Learn
You should not hesitate to try new things and experiment with new styles. Keep learning and practicing to find new ways to improve your skills. This keeps you up-to-date with trends.
Conclusion
Mastering product photography is key for boosting your visual marketing or e-commerce. A great product photo can change how customers see your product. It covers everything from lighting and equipment to composition and editing.
By using the tips in this article, like understanding lighting and setting up your space, you can get better at photography. Also, trying new things and learning will keep your photos interesting.
Keep practicing and stay current with photography trends to keep doing well. Remember, focus on details and be consistent. With these tips, you can improve your product photography. This will help your business look better and attract more customers.
